
Last week, we followed baker Vanessa Kimbell's recipe to make a simple sourdough starter. Before you begin baking your sesame seed & honey sourdough, you will need your sourdough starter ready. Alternatively, if you know someone who already bakes sourdough, you can just ask them to give you some of their starter.
Take a few minutes to look at the timings in this recipe before getting started. The recipe only requires about 20 minutes of work, spread out over three days.
This recipe calls for a double refreshment of the starter. It is very important to build the microbes in the starter, especially if you only bake once a week. This double refreshment is outlined in the timetable below and will make a beautiful loaf.
EQUIPMENT
A large mixing bowl
1 x 900g (2lb) loaf tin, or 2 x 450g (1lb) tins
A clean tea towel
A wooden spoon
INGREDIENTS
380g water at 27C
250g stoneground organic wholegrain flour
250g organic strong white flour (13 per cent protein)
100g bubbly lively sourdough starter, that has been refreshed twice (second build see schedule above)
10g fine sea salt
Butter/ghee, coconut oil or lard, for greasing
3 tablespoons sesame seeds
2 tablespoons runny honey

TIME AND TEMPERATURE GUIDELINES
Day 1
9 p.m. First build. Refresh your sourdough starter. Use tap water at about 22C.
Day 2
8 a.m. Second build. Refresh your sourdough starter. Use tap water at about 22C.
8 p.m. Prepare and weigh out the ingredients.
8.30 p.m. Mix the dough using your bubbly, lively starter. Try to mix at a temperature of 23C. When you've finished making the dough, put your remaining starter back in the fridge at a temperature of about 5C. Leave the dough in the tin on the kitchen worksurface to prove overnight.
Day 3
8 a.m. onwards You can bake at any time from 8 a.m., or you can transfer the dough to the fridge and bake any time until 4 p.m.
Makes: 1 large 900g (2lb) loaf or 2 smaller 450g (1lb) loaves (reduce baking time accordingly)

METHOD
Mix
In a large bowl, mix 340g of the water with your sourdough starter, remembering to pay attention to the temperature of the water. Mix well getting plenty of oxygen in at this point helps the yeast to reproduce. Add the flour and salt and mix until all the ingredients come together. You don't need to knead this dough: just mixing it really well is enough.
Wait for 1020 minutes. You can now add the last 40g water incrementally, adding 10g at a time over the course of 20 minutes. Allow each addition to absorb fully. If it hasn't absorbed, wait a little longer and mix again. This technique helps create that beautiful open crumb because the gluten can form stronger bonds when the dough is less hydrated.
Prepare the tin or tins by greasing with butter, ghee, coconut oil or lard (but not olive oil). Scatter the sesame seeds inside the tin(s), and transfer the dough to the tin(s). Remember to put your starter back in the fridge until next time you need it.
Prove
Leave the dough to prove overnight on the kitchen work surface, covered with an upturned bowl with a wet, clean tea towel over it. Make sure you have allowed enough space for the dough to rise without sticking. As a general guide, the ambient temperature here at the Sourdough School is generally about 23C.
In the morning, your loaf will be 50 per cent bigger. If you want to make your loaf more sour (and therefore more digestible), you can now transfer it to the fridge for another 34 hours before baking.
Bake
When you are ready to bake, preheat the oven to 220C/425F /Gas Mark 7 for 30 minutes. Place a small pan of boiling water at the bottom of the oven (or use a Dutch oven if you can fit your tin inside one). The extra steam from the water will help to form a beautiful crust.
Just as you put the bread in the oven, reduce the heat to 180C/350F/Gas Mark 4. Bake for about 4550 minutes. I don't give exact timings, because everyone's oven is slightly different. However, bake to the point that you like the look of the loaf: it should be a beautiful copper colour.
Storage
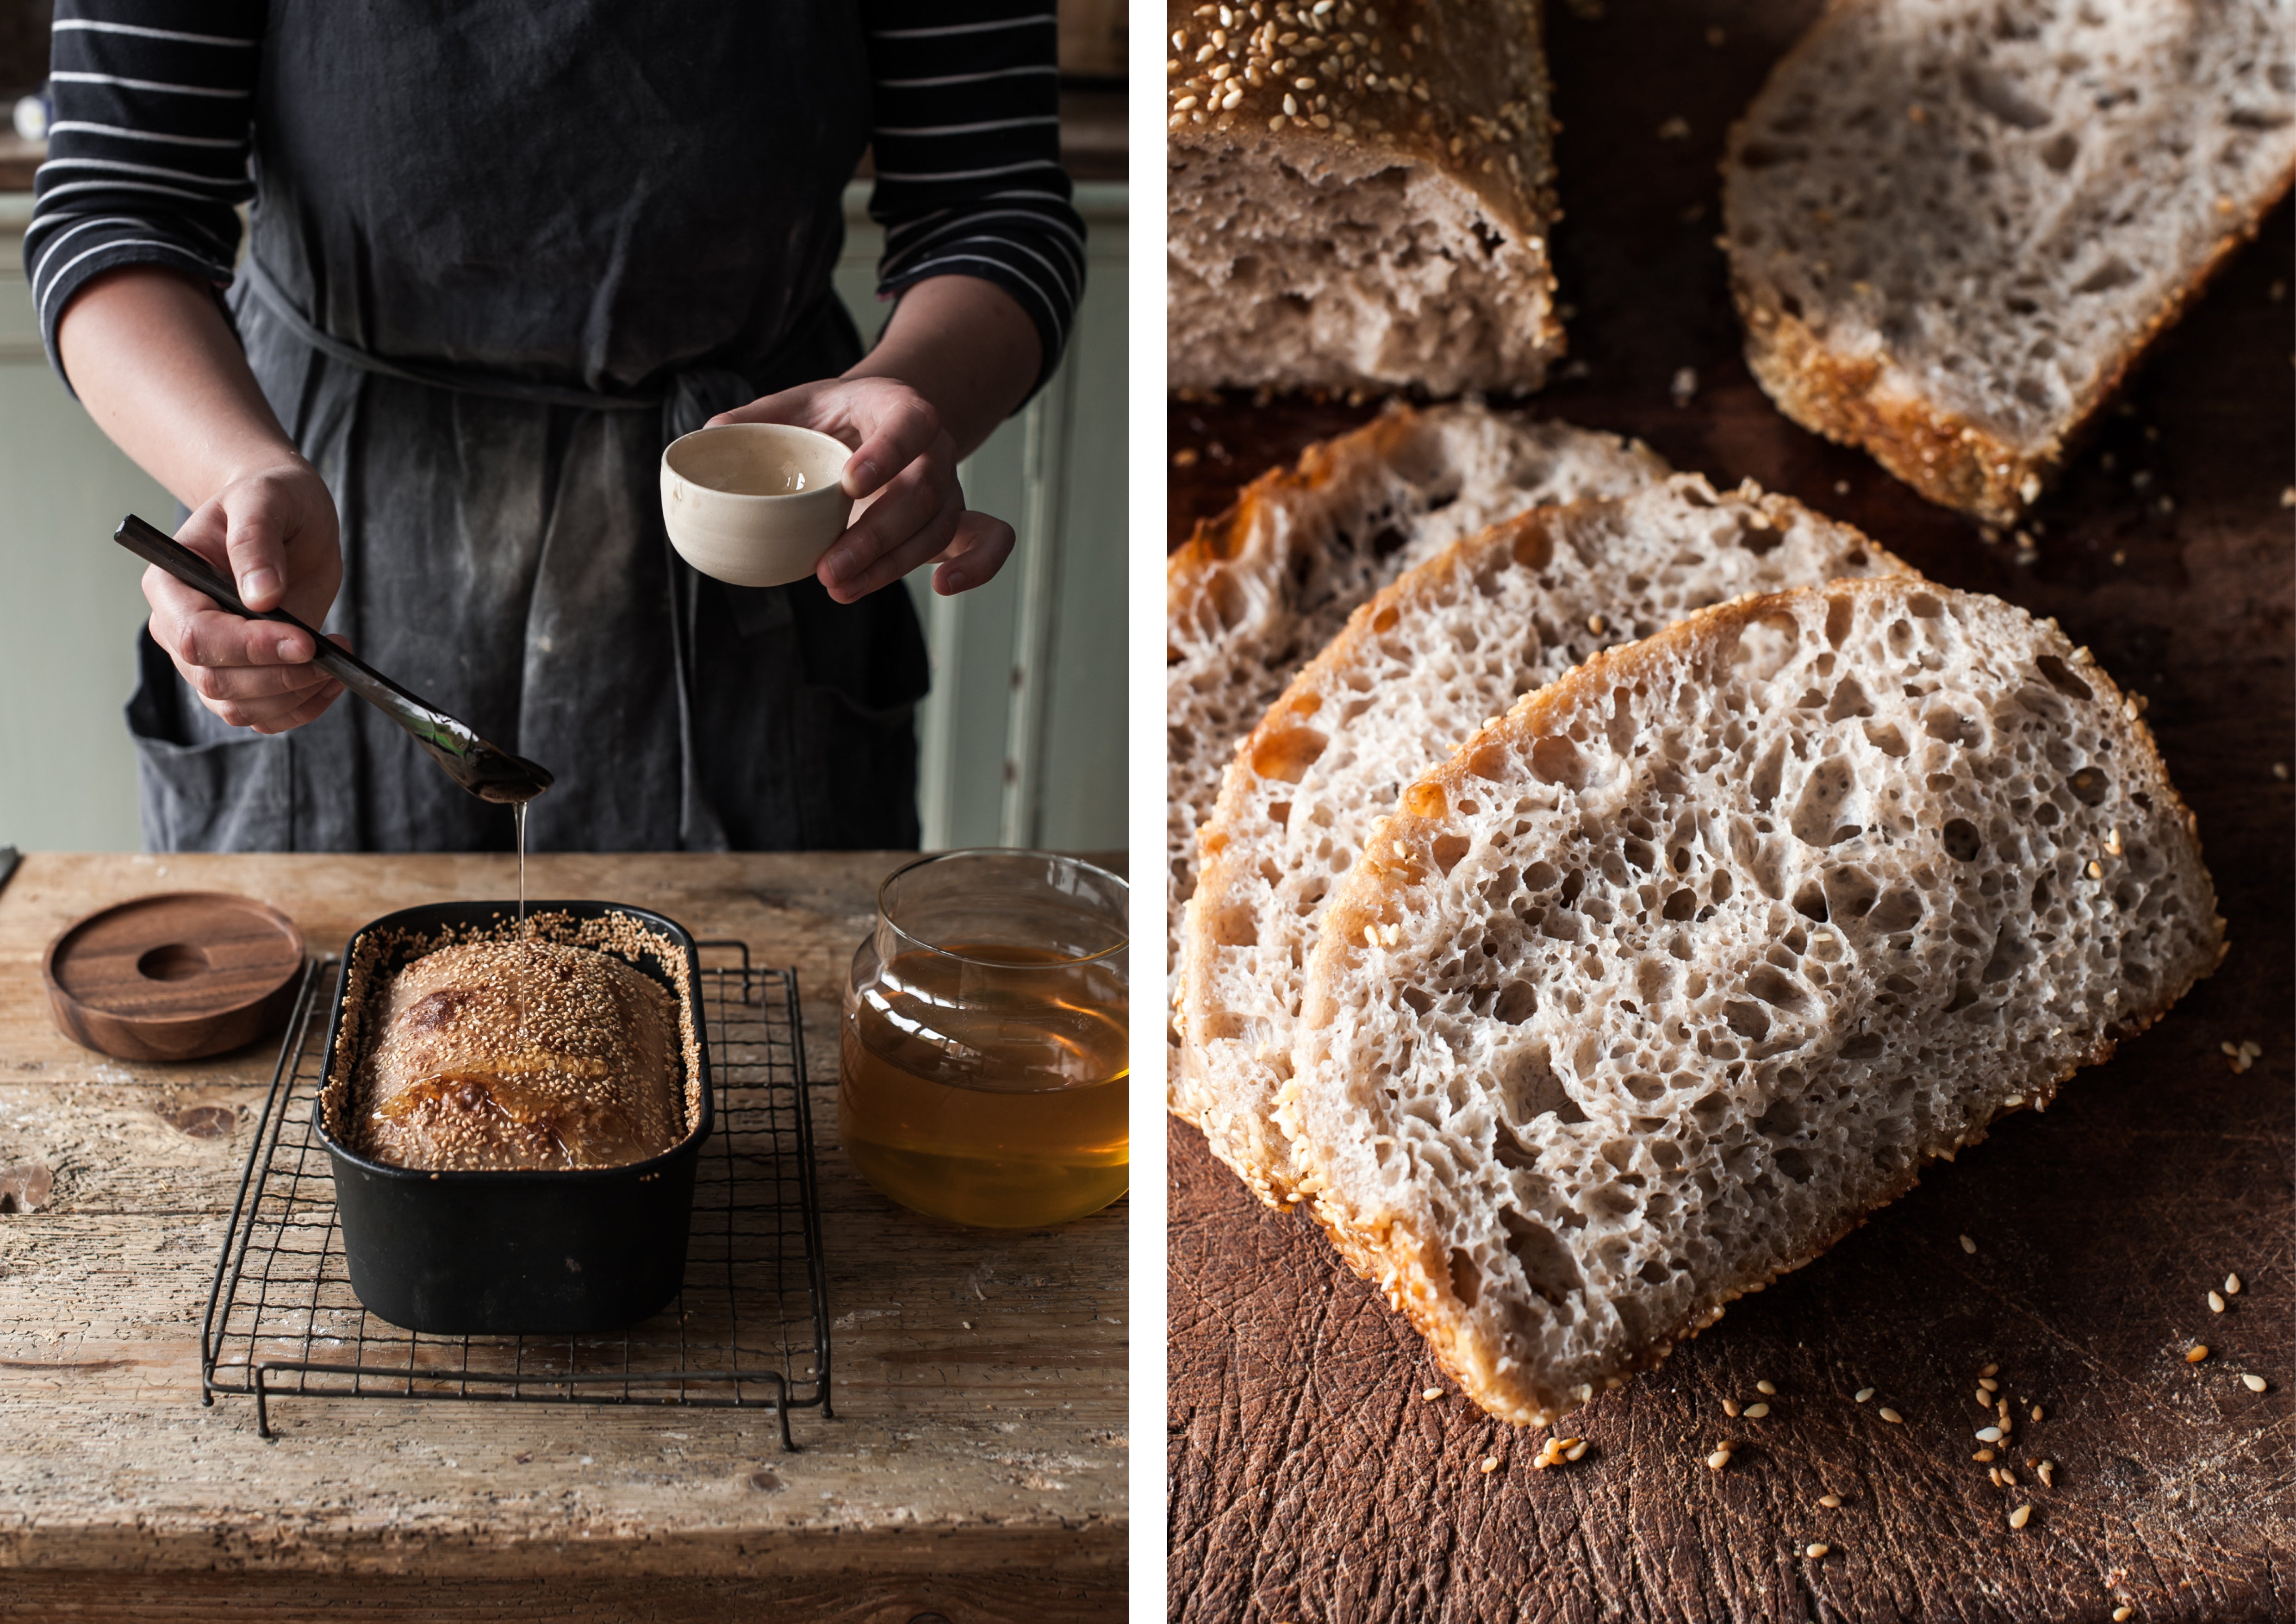
Leave the bread to cool in the tin for a few minutes, then drizzle with honey. Remove from the tin and transfer to a wire rack to cool completely. Once my loaves are cool, I usually store them wrapped in a clean tea towel, but as this loaf can be slightly sticky, I recommend a tin.
Tips
You can see my video here on how to refresh your sourdough starter.
Leftover starter
It can feel wasteful to discard when refreshing, but this gives the yeast a boost and is a necessary step because the acidity retards yeast. You will get flat, sour bread if you don't discard. However, you can use the discard in many other recipes, such as pancakes or muffins. If you are a Sourdough Club member, we have many recipes for using the leftover starter. Alternatively, you can compost it.

A note from Vanessa
When people ask me why I love baking sourdough, I have to stop for a moment and consider my answer. It's because my answer is both simple and complex all in the same moment. Sourdough is simply flour, salt and water. And there is a magical transformation that occurs when you capture wild yeast and lactic acid bacteria and cultivate them in a pot. These wild yeasts and lactic acid bacteria are what transform the bread. The wild yeast produces carbon dioxide which is held within a gluten network to make the bread light and airy. And the lactic acid bacteria produce tangy, light lactic acid and a deeper noted acetic acid. You would recognise these flavours as they are produced by the same bacteria in yogurt and vinegar. It is these acids that give your sourdough a distinctive tang. It's also what transforms the bread into being more nourishing.
Through the wild yeast and lactic acid bacteria in every sourdough starter there is a connection to an invisible microbial world. It's a world that we are a part of, but we know relatively little about. Bacteria have been discovered in the very outer edges of our stratosphere and all the way down to the bottom of the ocean floors. And bacteria are also part of us. We ourselves have a microbiome on our skin, and inside us all the way through from our mouths through our digestive tract to our gut microbiome. My work has focused on how fermentation facilitates more bioavailability of the key nutrients that nurture our microbiome. What is of particular interest to me is how this affects our mental health and how it makes us feel.

The four elements
As well as being a bread that's better for us nutritionally, sourdough provides us with a deep instinctive connection to baking, to creating. When you bake sourdough, you are creating life. It's about bringing together the four elements - earth, water, air and fire to create something beautiful and nourishing. The microbes that facilitate the transformation of flour, water and salt into bread come from your hands, the soil and the air around us. The flour brings us a connection to the earth, and the salt is from the ocean or has been mined from the heart of our planet. The air is what gets the yeast going, they need oxygen to produce the carbon dioxide bubbles we want to form in our dough. And the final part of making bread, the baking, embraces the fourth element fire.
How bread makes us feel
Sourdough is about connecting your senses as you mix the dough. Through your hands, your heart and your mind you connect to the process of bread making.
When I'm making my bread, part of the process is also connecting to the tools that I use and the clothes that I wear. There is a rhythm to making successful sourdough, a gentleness. And to connect to their dough, bakers have their own rituals. When I put on my apron, I myself transform it's the moment when I become a baker. Then there's a familiarity with the things I use. The bowl in which my dough comes to life, and the spoon I every time I measure salt because I know it will measure the correct amount each time. I love to use a carved wooden spoon and a pottery bowl made by other artisans, because it gives me a connection to other makers.
In that moment when the water and the flour come together and the sourdough starter is mixed in, I feel almost that I'm connected to the whole world. To the man that planted the tree that my spoon is carved from, and to the spoon carver. To the farmer that grew the flax plant that was used to make the fabric on my apron, and to the designer, who imagined the garment, and the seamstress who made it. I'm connected to the man who dug the clay and to the potter who threw the pot, and to the salt that was collected on the seashore and to the farmer who planted the spring wheat. Beyond that I'm connected to the farmer who milked the cows for the butter I spread on the bread. To the farmers who grew the sugar that I use in my jams, the cheesemaker who made the cheese for our sandwiches, and to the beekeeper and the bees that gather the honey, and I am the connection to the people I love and who will eat this bread.
Vanessa uses a hand chiselled spoon by Takahashi McGil. She wears the Linen Tie Back Apron in Slate. For more information and advice from Vanessa on all things sourdough, you can visit The Sourdough School.
Vanessa's Sourdough Club are offering a discounted membership to those who truly need it right now, providing access to endless research, recipes and masterclasses in sourdough. If you are in the NHS or health sector, over 70, a full time student, working in hospitality or temporarily out of work, you can apply here.
We hope you enjoy this little guide on how to make a Sesame Seed and Honey Sourdough. If you do make one, please share it on Instagram using the #TOASTtimetomake. We would love to see them.


Add a comment